
Bright Lights: een plek in jouw tuin
Ontdek Bright Lights en kies hoe je snijbiet wilt kweken. Hieronder staan de bevestigde rasgegevens en de praktische teeltgids voor deze groente.
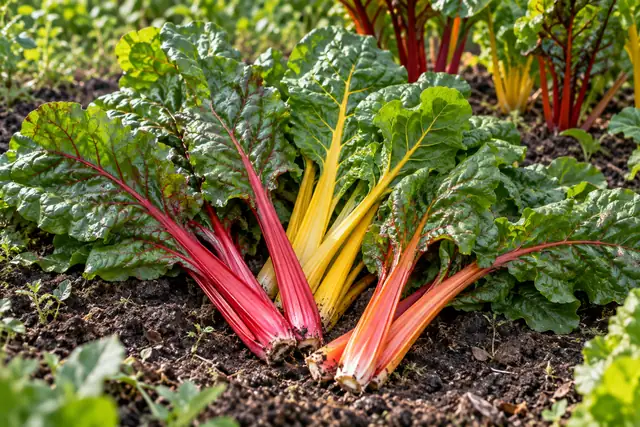
This image was created with AI from described plant characteristics and growing advice. It shows a possible situation and is not a photograph of a verified cultivar.
- Sowing
- Spring to summer, depending on variety and harvest aim
- Harvesting
- Young leaves or larger stalks
- Location
- Sun to light partial shade
- Growth
- Harvest outer leaves and leave the heart intact
This growing advice helps you choose. Your variety, growth stage, weather and conditions in your space determine the actual timing.
Sowing under cover and raising seedlings
Sow directly or in modules · Chard
March–April for an early startSow in bright, sheltered conditions in modules; do not keep young plants in a warm room for long.
- Germination and temperature
- Do not start in persistently cold soil; early cold can encourage bolting.
- After emergence
- Give seedlings light immediately after emergence. A dark loft needs suitable grow lights; warmth alone is insufficient. Ventilate and keep the compost moist without saturating it.
- Pricking out and potting on
- You can sow in modules and plant out with the root ball. A seed cluster can produce several seedlings; thin appropriately.
- Hardening off and planting out
- Gradually acclimatise indoor-raised plants to sun, wind and outdoor temperatures; shelter them again on cold nights. Plant out small, sturdy root balls without pulling the roots apart.
Cold during early growth can trigger bolting; do not start unnecessarily early.
Sources and use
Royal Horticultural Society · RHS — snijbiet kweken ↗Soort- of productgebonden bron; buitenlandse perioden zijn geen vaste Nederlandse zaaidatum.
Utah State University Extension · USU Extension — snijbiet in de tuin ↗Soort- of productgebonden bron; buitenlandse perioden zijn geen vaste Nederlandse zaaidatum.
Guideline periods for the Netherlands and Flanders. Check the variety, available light, soil and measured temperatures. Greenhouse heating does not guarantee enough winter light.
How to grow chard
The options below belong to the plant. From these, choose the method that suits your variety's growth habit.
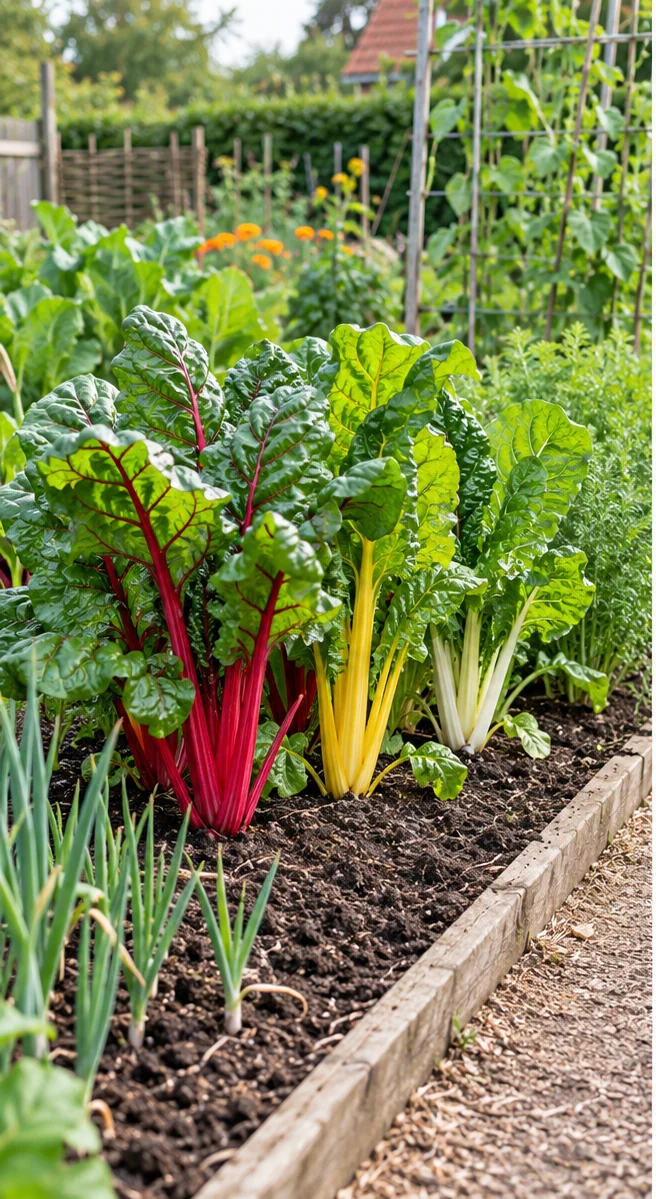
This image was created with AI from described plant characteristics and growing advice. It shows a possible situation and is not a photograph of a verified cultivar.
Short rows in a garden bed
A small chard row makes care manageable. Choose the right season, keep weeds away and follow leaves. Plan another batch once you see how much you actually use.
- Prepare a fine soil surface and remove weeds.
- Sow or plant at the spacing for the chosen type.
- Keep the germination and root zones moist and harvest according to leaf quality.
For anyone with a small bed or a space available after another harvest.
Tick off your supplies →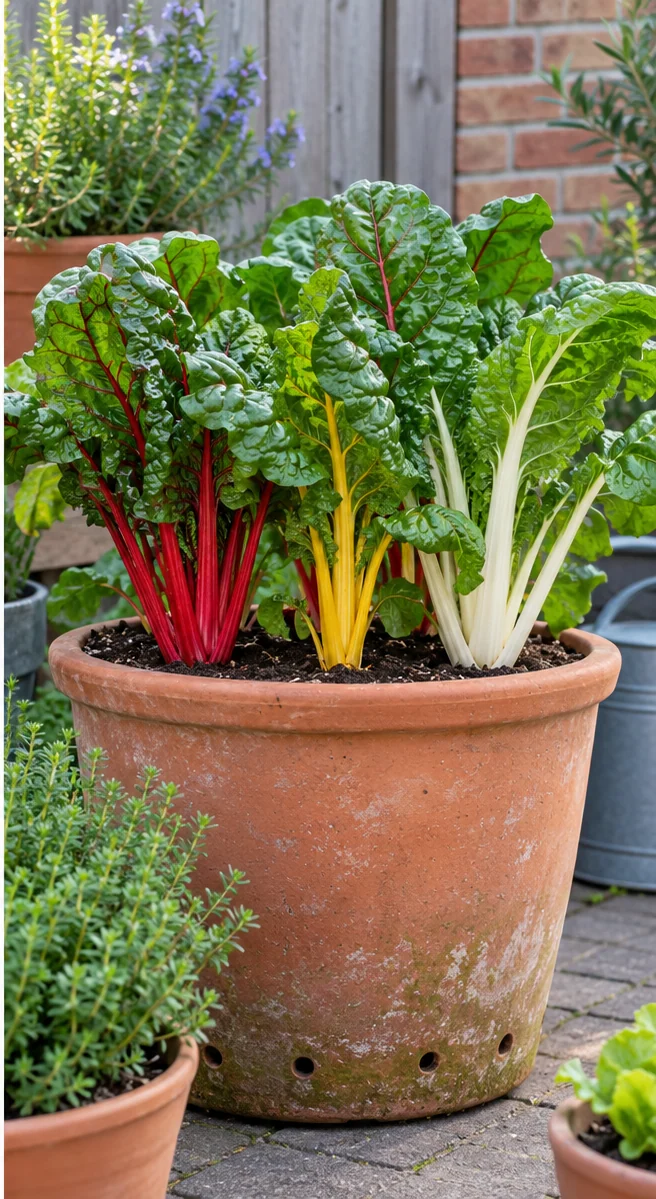
This image was created with AI from described plant characteristics and growing advice. It shows a possible situation and is not a photograph of a verified cultivar.
A colour accent in a large pot
A few chard plants in a spacious pot give colour and small harvests close to home. Allow room for mature leaves. Check the pot regularly in heat, even when large leaves still look firm.
- Use a wide pot with drainage holes.
- Thin emerging seedlings for the chosen harvest size.
- Pick outer leaves and keep the young centre clear.
For limited space or a smaller, more accessible leaf crop.
Tick off your supplies →Choose by flavour, shape and use
Oranje Sunset: Oranje Sunset combines light green leaves with orange leaf stalks. This gives even a simple leafy vegetable harvest a clear colour accent. Cook leaves like spinach and use thicker stalks separately in gratin or sauce; cooking times differ.
The source gives no separate aroma for the orange selection. Spinach-like kitchen use is a crop comparison, not a unique cultivar flavour.
Rhubarb Chard: Rhubarb Chard has striking red stalks and large, tender leaves. The name refers to the stalks' appearance, not to rhubarb. Briefly cook leaves, adding stalks earlier. Both parts belong to the harvest.
The source gives no rhubarb-like flavour. Familiar chard preparation is distinguished from the similarity in stalk colour.
Rode bladstelen: This chard offering is named for red stalks and bronze foliage. No further variety name is confirmed. Cook coloured stalks separately from leaves to retain bite. Young leaves also suit mixed harvests.
A separate flavour profile for this colour form is lacking. Red stalks provide a visible difference, not a proven more acidic or sweeter result.
Veelkleurige bladstelen: This offering has varied stalk colours with green or red leaves. Colour variation is confirmed; component identities are not. Use different stalks together in a colourful dish or keep colours separate for comparison. You can also cook the leaves.
The source gives no separate flavour for each colour. A varied plant group does not prove that every colour has its own cultivar aroma.
Choose the type to suit your harvest
With chard, leaves are the harvest, not a beetroot. Varieties can have different stalk colours. Choose beyond the picture: for thick stalks, grow plants farther apart than for cutting young leaves only.
A small, sound start
Sow directly in a moist, prepared bed or raise individual plants. One seed cluster can produce several seedlings. Thin after emergence and give desired plants enough space for broad foliage.
Light and soil that can drain
Choose a bright spot and prepare a fine enough surface for the small seeds or young rootballs. Water must be able to drain away after rain. In a pot, check that the drainage holes are clear; a layer of wet soil does not help produce a healthy leaf harvest.
Care for the young leaves
Keep the root zone moist in dry periods and remove weeds while plants are small. Do not repeatedly strip all leaves. Plants need healthy foliage for new growth and recovery after harvesting.
Harvest for quality
Pick outer leaves and their stalks gently, leaving the young heart intact. Small leaves suit mixed harvests; thick stalks need a different kitchen treatment. Prepare both appropriately, as stalks often take longer to cook.
Recognise what the leaves tell you
Prolonged drought reduces tenderness and can stop growth. A flower stem calls for checking season and plant age. Damaged or discoloured old leaves do not automatically call for fertiliser: check moisture and leaf health first.
Fresh leaves start with a small picking
Harvest at a cool time and keep the leaves cool after picking. Wash them before use and remove damaged parts. A small fresh portion wastes less than harvesting a whole container when you only need a handful.
Make room for the next round
Record sowing and the first harvest so you can compare what works in your space next season. Do not leave an empty row unplanned for long. A new batch within a suitable window gives a better spread than hoping overmature leaves will become young again.
What you need
Tick what you already have. The extras depend on how you grow.
0 of 5 ticked off
Your ticks are saved in this browser.
Discover and grow more
More background, sources and image information
SeedSteps editorial team · updated on 11 October 2026. The AI images illustrate species and practical growing situations; they do not prove an exact cultivar, observations from your own garden or yield.
Britse gewasadviezen worden gecombineerd met Nederlandse en Vlaamse informatie waar beschikbaar. Amerikaanse Extension-bronnen ondersteunen plantprincipes en herkenning; hun kalenderdata, lokale plaagdruk, bestrijdingsmiddelen en mestdoseringen worden niet rechtstreeks op Nederland of Vlaanderen toegepast. Vorst, bodemwarmte, standplaats en expliciete rasinformatie blijven de lokale controle. Commerciële bronnen onderbouwen uitsluitend benoemde ras- en plantkenmerken; zij zijn geen affiliate-aanbeveling.
- World Checklist of Vascular Plants — 4 juni 2026Royal Botanic Gardens, Kew · accessed 2026-10-07
- Common catalogue of varieties of vegetable species — 27 januari 2023Europese Commissie · accessed 2026-10-07
- Snijbiet met rode bladstelen zadenFeggies · accessed 2026-10-11
- Snijbiet met veelkleurige bladstelen zadenFeggies · accessed 2026-10-11
- Snijbiet Oranje Sunset zadenFeggies · accessed 2026-10-11
- Snijbiet rhubarb chard – biologische groentezaden (rode stelen)Feggies · accessed 2026-10-11
- RHS — snijbiet kwekenRoyal Horticultural Society · accessed 2026-10-10
- USU Extension — snijbiet in de tuinUtah State University Extension · accessed 2026-10-10
Supporting evidence by chapter: Choose by flavour, shape and use: Feggies, Feggies, Feggies, Feggies. Choose the type to suit your harvest: Royal Horticultural Society, Utah State University Extension. A small, sound start: Royal Horticultural Society, Utah State University Extension. Light and soil that can drain: Royal Horticultural Society, Utah State University Extension. Care for the young leaves: Royal Horticultural Society, Utah State University Extension. Harvest for quality: Royal Horticultural Society, Utah State University Extension. Recognise what the leaves tell you: Royal Horticultural Society, Utah State University Extension. Fresh leaves start with a small picking: Royal Horticultural Society, Utah State University Extension. Make room for the next round: Royal Horticultural Society, Utah State University Extension.