Why grow Groninger?
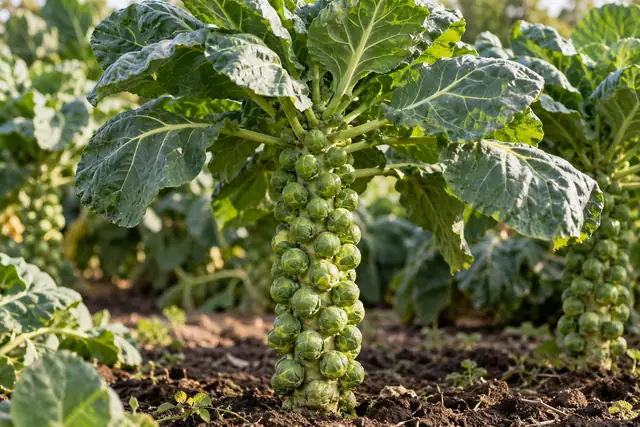
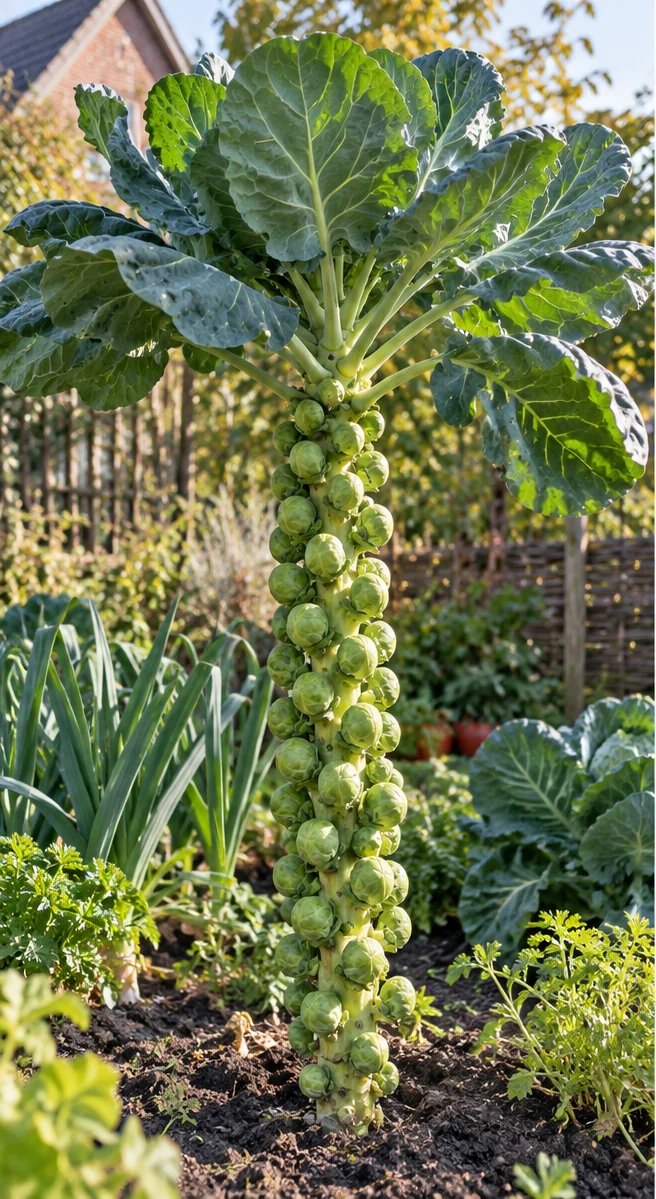
Groninger is described with many small, firm sprouts along the stem. It suits a winter-focused Brussels sprout bed.
Choose Groninger when small sprouts and a longer winter schedule matter. Cold tolerance still depends on weather and position.
How this choice tastes
The source gives no distinct Groninger aroma. Ordinary Brussels sprout flavour is distinguished from the confirmed small, firm structure.
From harvest to kitchen
Use small sprouts whole or halve them for brief frying. A modest picking can provide exactly a meal.
What needs attention when growing
Start early enough to develop a good stem before winter. Give each plant room for leaves and sprout formation.
Pick usable, firm sprouts along the stem in portions. Check upper sprouts later if still smaller.
Choose by flavour, shape and use
Groninger: Groninger is described as having many small, firm sprouts along the stem. The offering suits a winter-focused Brussels sprout bed. Use small sprouts whole or halve them for brief frying. A modest picking can provide exactly a meal.
The source gives no distinct Groninger aroma. Ordinary Brussels sprout flavour is distinguished from the confirmed small, firm structure.
Rubine: Rubine brings reddish sprouts and leaves to the cabbage bed. The product source describes later development than a quick green harvest. Cook the coloured sprouts or compare a small portion with green sprouts. Colour retention is not guaranteed.
A separate red Brussels sprout aroma is not confirmed. Colour is a selection criterion, not evidence of sweeter flavour.
Darkmar: Also called Darkmar 21 in the description. The source emphasises sturdy plants with medium, even sprouts. Cook whole or halved. Even sizing can help achieve matching doneness.
The product source gives no distinct Darkmar aroma. General flavour change after cold is not presented as an exclusive cultivar fact.
Winter harvest starts in spring
Brussels sprouts need a long growing season. Sow a cultivar in time and reserve the space well before winter. Early and late cultivars spread the harvest; a name or picture alone does not say when they are ready.
A tall plant needs a sturdy base
Choose a sunny position with fertile soil draining after rain. Firm soil around the root ball. A plant rocking in wind can suffer root damage and struggle to maintain even growth.
Do not let the young plant stall
Sow in separate modules and provide plenty of light after emergence. Keep the root ball moist and move before the pot becomes too small. Gradually introduce outdoor sun and wind for a gentler transition to the bed.
Leave room for the large leaves
Plant sturdy seedlings with the variety's spacing. About sixty centimetres is often a useful scale, but large varieties may need more. Water immediately and prevent insect mesh lying tightly on leaves.
Monitor the stem and root zone
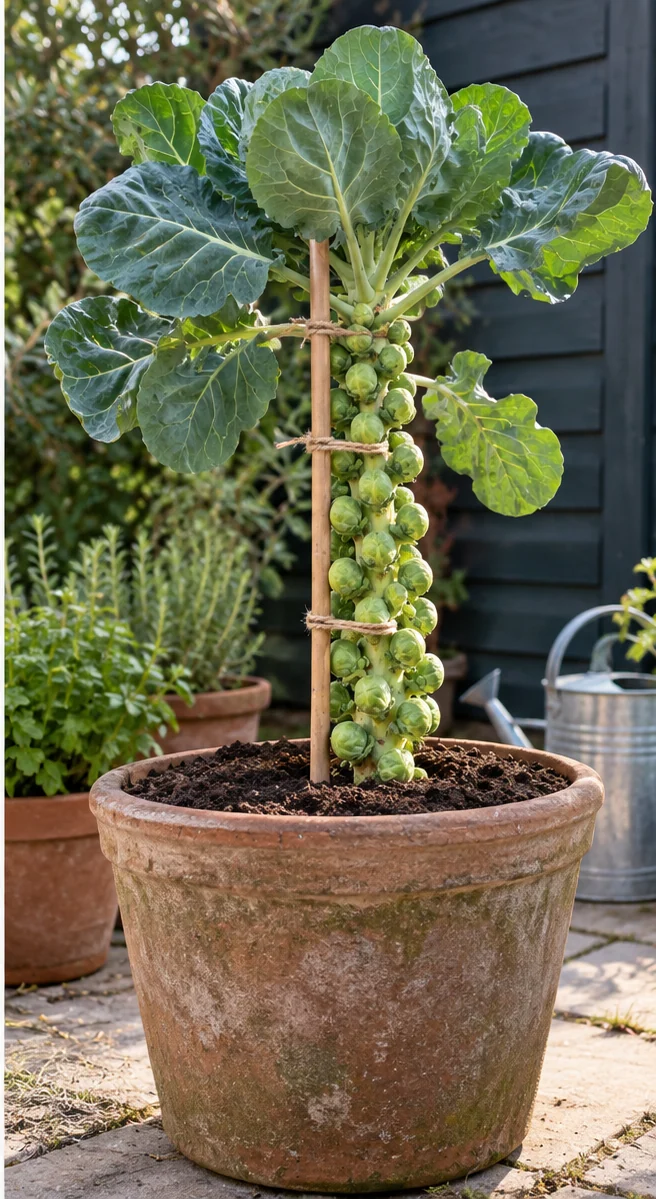
Water during drought, especially while sprouts develop. Support a heavy plant in wind with a stake and soft tie. Do not simply remove every leaf; healthy leaves help growth.
The sprouts appear from bottom to top
Look for closed, firm buds in the lower leaf axils. Higher sprouts may still be smaller. Topping is not required for every variety or crop; acting too early limits further growth.
Loose sprouts and chewed leaves
Growth stress, insufficient moisture or unsuitable timing can reduce quality. Check caterpillars, aphids and root problems too. Protect early with mesh and do not simply treat a seriously abnormal root as a feeding issue.
Pick firm sprouts first
Harvest sprouts when closed and firm, working gradually upwards. Handle a frozen plant carefully and preferably wait for it to thaw. A winter cultivar tolerates cold better than a randomly chosen cultivar; severe frost can still cause damage.
Pick shortly before cooking
Fresh sprouts are best soon after harvest. Keep a picked portion cool and use damaged ones first. Freeze large supplies following reliable guidance; do not plan only a single complete harvest.